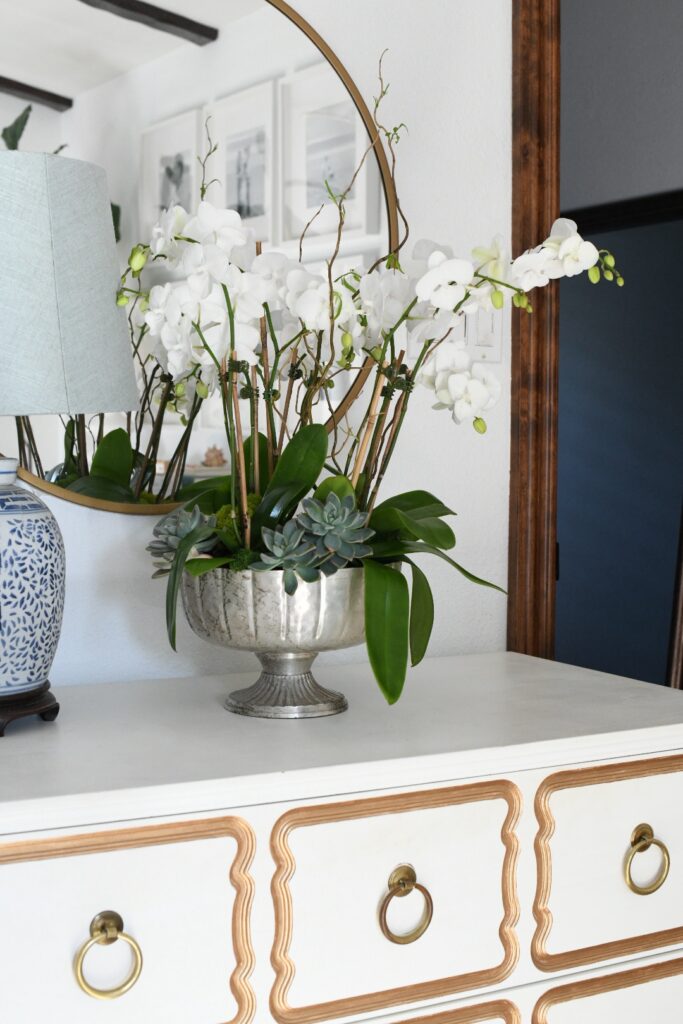
Who can resist the beauty of an orchid arrangement? Lately, I’ve been incorporating orchids into my home decor – the simplicity exudes elegance, and they tend to have a longer lifespan compared to fresh-cut flowers. I feel like just adding an orchid to a room elevates the space!
This weekend, I visited the Los Angeles Flower Market to purchase orchids, fillers, and some vases for the foundation of my arrangements. I was thrilled to unleash my creativity with these plants! Below, I listed my tips and tricks for creating stunning arrangements that will be the centerpiece of your home!
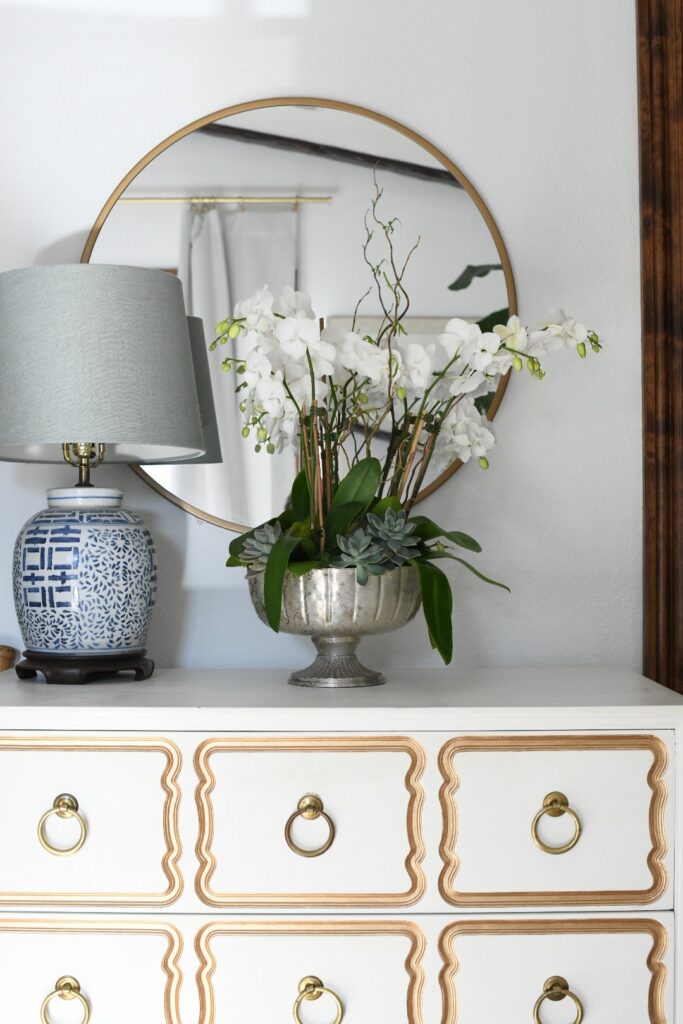
How to Build an Elegant Orchid Arrangement
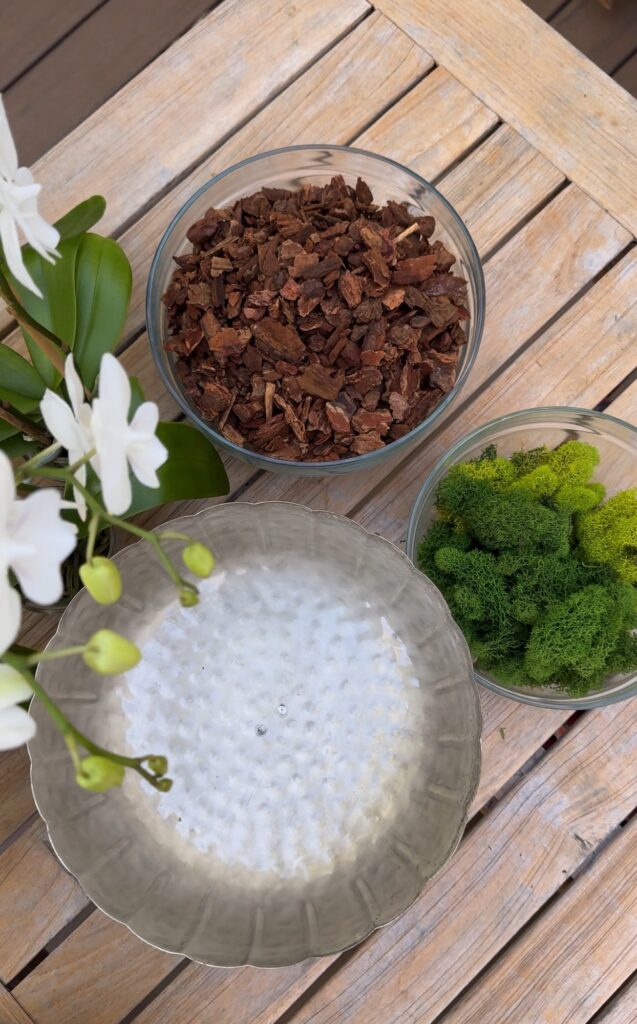
What you will need:
- Orchids: You can find orchids at your local garden center, floral market, or even Trader Joe’s!
- A Container: I always choose a pot that is deep and wide. I used this vase but you can also use a large bowl, or a basket with a plastic insert! Get creative!
- Bark: These woodchips help stabilize the orchids in the container.
- Moss: This is to top off your arrangement and create a seamless look
- Filler florals: I like to use branches or succulents for height and added dimensions in the arrangement.

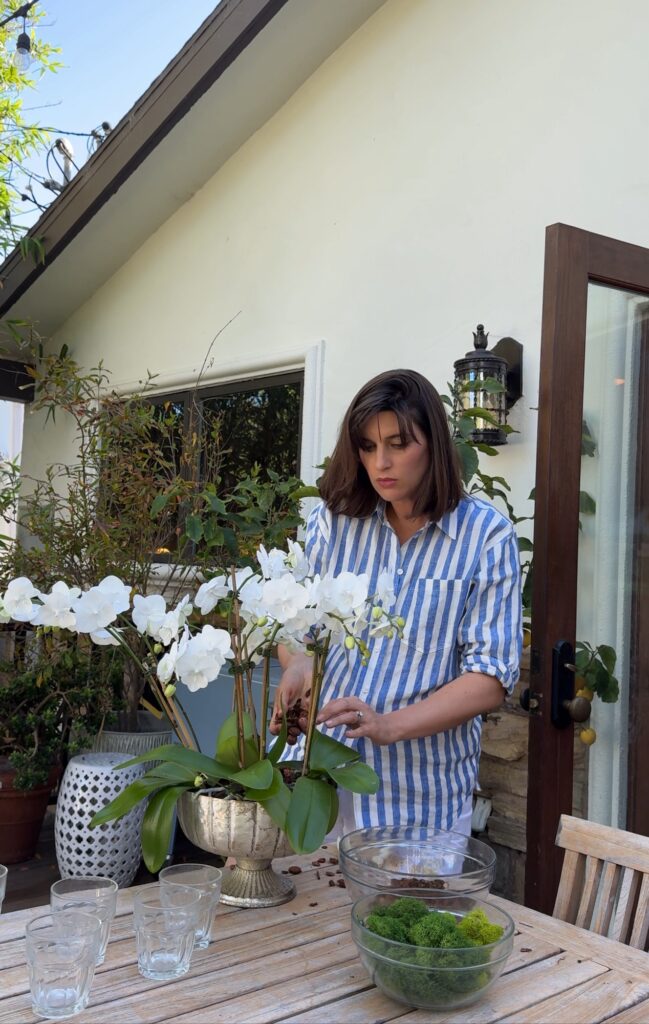
Instructions:
- Remove orchids from their plastic containers and place them into the pot. Arrange them in various directions – I find they fit best facing out!
- Fill in around the orchids with bark to stabilize them. It also helps absorb some of the water to keep them hydrated and fresh.
- Top off the bowl with moss – as much or as little as you would like! I chose to go a little heavy on moss. The moss also helps keep the orchids in place in the bowl.
- Top off the arrangement with filler plats like branches or succulents.
- Voila! Find the perfect spot in your home with a big of sunlight (but not direct!) to display your arrangement!
This post contains affiliate links. If you make a purchase through one of these links, I may earn a small commission at no extra cost to you.